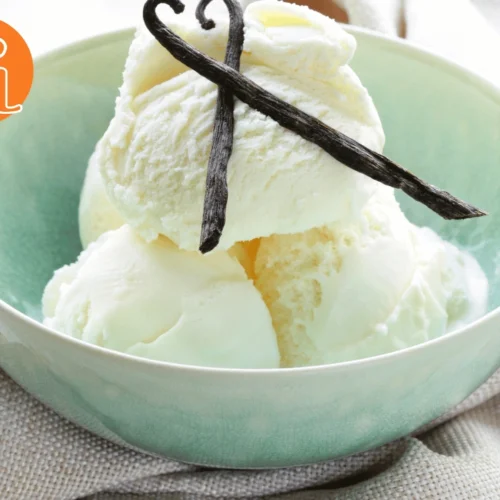
ninja creami vanilla ice cream recipe
This article provides a step-by-step guide to making classic vanilla ice cream using the Ninja Creami. The process involves creating a base mixture with high-quality ingredients like whole milk, heavy cream, sugar, and pure vanilla extract. After mixing, the base is frozen for 24 hours in the Ninja Creami pint container. The frozen mixture is then processed in the Ninja Creami, which transforms it into smooth, creamy ice cream.
Ingredients
- 2/3 cup granulated sugar: This provides the sweetness that balances the creaminess of the ice cream. Sugar also plays a crucial role in the texture of the ice cream, helping to prevent it from freezing too hard.
- 1 cup whole milk: The milk adds a lighter creaminess to the ice cream. Whole milk is preferred for its balance of fat and flavor.
- 1 cup heavy cream: This is what gives your ice cream its rich, creamy texture. The high fat content of heavy cream is essential for creating smooth, velvety ice cream.
- 1 tablespoon pure vanilla extract: Vanilla is the star of this recipe. Using pure vanilla extract, rather than imitation, ensures a deep, authentic flavor.
- Pinch of salt A small amount of salt enhances the overall flavor of the ice cream, bringing out the sweetness and the richness of the vanilla.
Notes
Recipe Notes for Vanilla Ice Cream with the Ninja Creami
- Ingredient Quality: For the best flavor and texture, use high-quality ingredients. Opt for pure vanilla extract rather than imitation vanilla, and choose fresh, high-fat dairy products (whole milk and heavy cream) for a richer, creamier ice cream.
- Mixing Tip: Ensure that the sugar is fully dissolved in the milk before adding the cream and vanilla. This prevents any graininess in the final ice cream and helps achieve a smoother texture.
- Chilling the Mixture: While not mandatory, chilling the ice cream base in the refrigerator for about 1 hour before freezing can help the sugar dissolve better and improve the overall texture of the ice cream.
- Freezing Time: The ice cream base must be frozen solid for at least 24 hours. Ensure the pint container is placed on a flat surface in the freezer for even freezing and to avoid any spillage.
- Processing Notes: After freezing, the base should be processed in the Ninja Creami immediately. If the base is not processed soon after removing it from the freezer, it may become too hard, making it difficult for the machine to churn properly.
- Texture Adjustment: If you prefer a firmer texture, you can return the processed ice cream to the freezer for an additional hour or so. This step is useful if you want a more scoopable consistency similar to store-bought ice cream.
- Mix-Ins: If adding mix-ins (e.g., chocolate chips, fruit pieces), do so after processing the ice cream using the Ninja Creami’s “Mix-In” function. This method ensures that the mix-ins are evenly distributed without over-processing the base.
- Storage: Store any leftover ice cream in an airtight container in the freezer. To minimize ice crystals and maintain a smooth texture, press a piece of plastic wrap directly onto the surface of the ice cream before sealing the container.
- Serving Suggestions: Vanilla ice cream can be enjoyed on its own or with various toppings and mix-ins. It pairs well with desserts like pies, cakes, and brownies, or can be served as part of a sundae or milkshake.
- Customization: Feel free to experiment with flavors and variations. Add a splash of almond extract, swirl in some caramel or fruit puree, or mix in crushed cookies for a personalized twist on the classic vanilla flavor.
