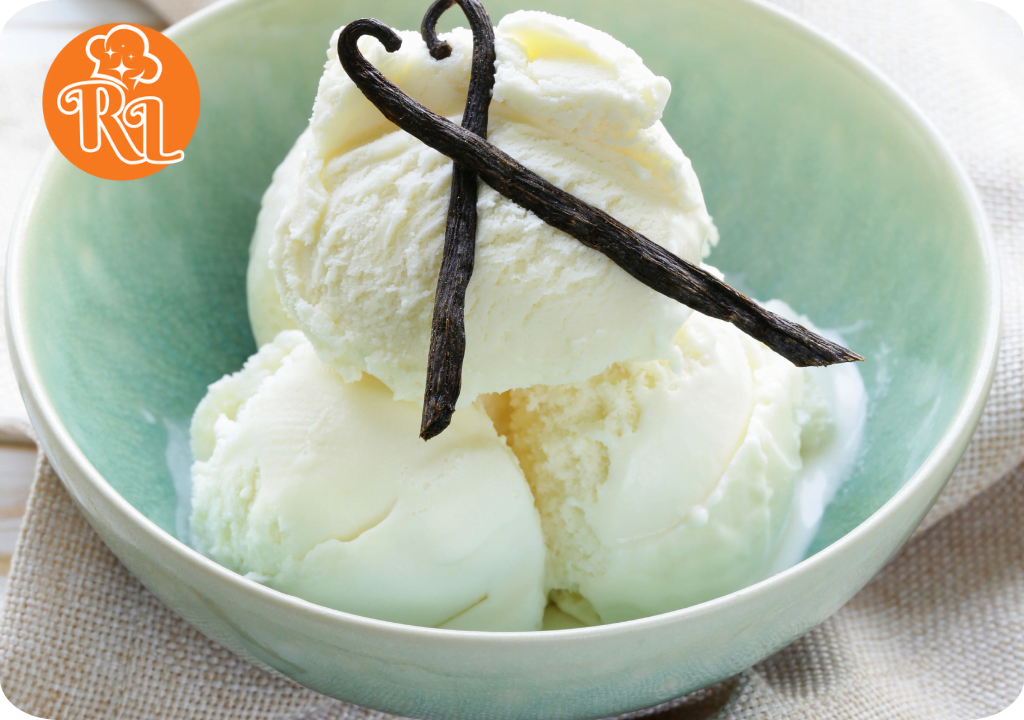
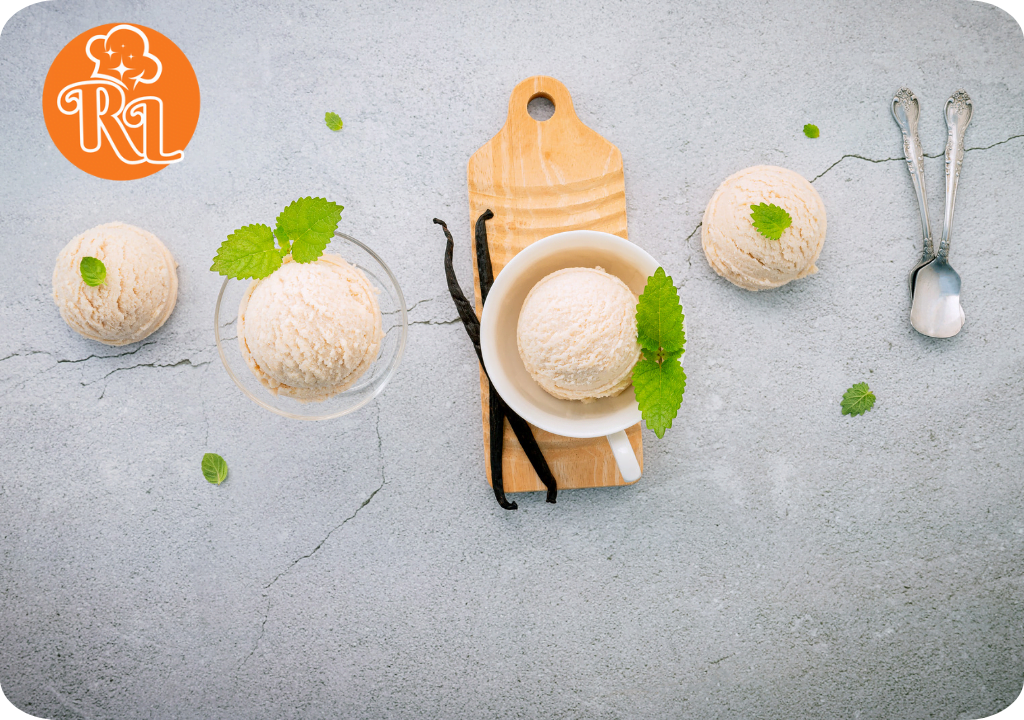
Vanilla ice cream is a beloved classic, celebrated for its creamy texture and subtle, sweet flavor. With the Ninja Creami, creating homemade vanilla ice cream becomes a straightforward and rewarding experience. This Ninja Creami vanilla ice cream recipe is designed to be easy to follow, ensuring that you can enjoy rich, creamy ice cream right from your kitchen. Here’s a detailed guide on how to make the perfect vanilla ice cream using your Ninja Creami
Why Choose the Ninja Creami Vanilla Ice Cream Recipe?
Before diving into the recipe, it’s worth exploring why vanilla ice cream holds such a special place in the world of frozen desserts. Despite its simple flavor profile, vanilla ice cream is anything but boring. The subtle, yet complex flavor of vanilla beans, coupled with the creamy texture of well-made ice cream, creates a base that can stand on its own or serve as the perfect companion to other desserts.

Vanilla ice cream is also incredibly versatile. It pairs beautifully with a wide range of desserts, from pies and cakes to brownies and cookies. Moreover, it can be easily customized with a variety of mix-ins, such as chocolate chips, caramel swirls, or fruit, to create new flavor combinations. When made with high-quality ingredients, vanilla ice cream can be a luxurious treat that rivals even the most elaborate desserts.
ninja creami vanilla ice cream recipe
Ingredients
- 2/3 cup granulated sugar: This provides the sweetness that balances the creaminess of the ice cream. Sugar also plays a crucial role in the texture of the ice cream, helping to prevent it from freezing too hard.
- 1 cup whole milk: The milk adds a lighter creaminess to the ice cream. Whole milk is preferred for its balance of fat and flavor.
- 1 cup heavy cream: This is what gives your ice cream its rich, creamy texture. The high fat content of heavy cream is essential for creating smooth, velvety ice cream.
- 1 tablespoon pure vanilla extract: Vanilla is the star of this recipe. Using pure vanilla extract, rather than imitation, ensures a deep, authentic flavor.
- Pinch of salt A small amount of salt enhances the overall flavor of the ice cream, bringing out the sweetness and the richness of the vanilla.
Notes
Recipe Notes for Vanilla Ice Cream with the Ninja Creami
- Ingredient Quality: For the best flavor and texture, use high-quality ingredients. Opt for pure vanilla extract rather than imitation vanilla, and choose fresh, high-fat dairy products (whole milk and heavy cream) for a richer, creamier ice cream.
- Mixing Tip: Ensure that the sugar is fully dissolved in the milk before adding the cream and vanilla. This prevents any graininess in the final ice cream and helps achieve a smoother texture.
- Chilling the Mixture: While not mandatory, chilling the ice cream base in the refrigerator for about 1 hour before freezing can help the sugar dissolve better and improve the overall texture of the ice cream.
- Freezing Time: The ice cream base must be frozen solid for at least 24 hours. Ensure the pint container is placed on a flat surface in the freezer for even freezing and to avoid any spillage.
- Processing Notes: After freezing, the base should be processed in the Ninja Creami immediately. If the base is not processed soon after removing it from the freezer, it may become too hard, making it difficult for the machine to churn properly.
- Texture Adjustment: If you prefer a firmer texture, you can return the processed ice cream to the freezer for an additional hour or so. This step is useful if you want a more scoopable consistency similar to store-bought ice cream.
- Mix-Ins: If adding mix-ins (e.g., chocolate chips, fruit pieces), do so after processing the ice cream using the Ninja Creami’s “Mix-In” function. This method ensures that the mix-ins are evenly distributed without over-processing the base.
- Storage: Store any leftover ice cream in an airtight container in the freezer. To minimize ice crystals and maintain a smooth texture, press a piece of plastic wrap directly onto the surface of the ice cream before sealing the container.
- Serving Suggestions: Vanilla ice cream can be enjoyed on its own or with various toppings and mix-ins. It pairs well with desserts like pies, cakes, and brownies, or can be served as part of a sundae or milkshake.
- Customization: Feel free to experiment with flavors and variations. Add a splash of almond extract, swirl in some caramel or fruit puree, or mix in crushed cookies for a personalized twist on the classic vanilla flavor.
Preparation Time for making vanilla ice cream with the Ninja Creami can be broken down into several stages:
- Mixing the Ingredients: About 10-15 minutes to combine the sugar, milk, cream, and vanilla extract.
- Freezing Time: The mixture needs to freeze for 24 hours in the Ninja Creami pint container.
- Processing the Ice Cream: Once frozen, processing in the Ninja Creami takes approximately 5-10 minutes to achieve a smooth, creamy texture.
So, the total active prep time is around 10-15 minutes, but keep in mind the ice cream needs to be frozen for a full 24 hours before processing.
Step-by-Step Instructions
Now, let’s walk through the process of making vanilla ice cream with the Ninja Creami.
Step 1: Prepare the Vanilla Base
The first step in making your vanilla ice cream is to prepare the base mixture. This mixture is the foundation of your ice cream and needs to be well-balanced to ensure the best results.
- Mix the Dry Ingredients: Start by combining the granulated sugar and a pinch of salt (if using) in a medium-sized mixing bowl. The sugar is crucial not just for sweetness but also for the texture of your ice cream. The salt, while optional, can help to amplify the flavors in the final product.
- Add the Milk: Slowly pour in the whole milk, stirring continuously to help the sugar dissolve. The milk serves as the base liquid and adds to the overall creaminess of the ice cream.
- Incorporate the Cream: Once the sugar is fully dissolved in the milk, add the heavy cream to the mixture. The cream is what gives the ice cream its rich and luscious texture, so be sure to mix it in thoroughly.
- Flavor with Vanilla: Finally, add the vanilla extract. This is the most important ingredient in vanilla ice cream, so make sure you use a high-quality pure vanilla extract. Stir the mixture until everything is well combined and smooth.
Step 2: Freeze the Mixture
Once your ice cream base is ready, the next step is to freeze it. This is where the Ninja Creami’s design shines, allowing you to freeze the mixture directly in the same container you’ll use to process it.
- Transfer to Pint Container: Pour the prepared vanilla base into the Ninja Creami pint container. It’s important not to fill the container to the brim; leave about 1/4 inch of space at the top. This allows the mixture to expand as it freezes, preventing any spills or overflows.
- Freeze for 24 Hours: Secure the lid on the pint container and place it in your freezer. For the best results, freeze the mixture for a full 24 hours. This ensures that the base is completely solid and ready to be processed into ice cream.
Step 3: Process the Frozen Base
After freezing, it’s time to transform your frozen base into creamy vanilla ice cream. The Ninja Creami makes this process quick and easy.
- Prepare the Machine: Remove the pint container from the freezer and take off the lid. Place the container into the Ninja Creami machine, ensuring it’s securely locked in place.
- Select the Ice Cream Setting: On the Ninja Creami, choose the “Ice Cream” setting. This setting is designed to churn the frozen base into a smooth, creamy consistency. Press start, and let the machine do its work.
- Watch the Magic Happen: The machine will begin processing the frozen base, breaking down any ice crystals and whipping air into the mixture to create a perfect ice cream texture. In just a few minutes, your vanilla ice cream will be ready to enjoy.

Step 4: Customize Your Ice Cream
One of the best things about making ice cream at home is the ability to customize it exactly to your liking. With the Ninja Creami, you can easily add mix-ins or toppings to create a unique flavor experience.
- Add Mix-Ins: If you’d like to add mix-ins, such as chocolate chips, cookie pieces, or fruit, now is the time. Simply add them to the processed ice cream, then use the Ninja Creami’s “Mix-In” function to evenly distribute them throughout the ice cream. This setting is gentle enough to incorporate the mix-ins without over-processing the base.
- Adjust the Texture: If you prefer a firmer ice cream, you can place the processed ice cream back in the freezer for an additional hour or two. This will give it a more scoopable consistency, similar to store-bought ice cream.
- Top It Off: Serve your ice cream in bowls or cones, and add your favorite toppings. Whether it’s a drizzle of hot fudge, a sprinkle of nuts, or a handful of fresh berries, the toppings are a great way to personalize your dessert.
Step 5: Serve and Enjoy
Now comes the best part—enjoying your homemade vanilla ice cream! Whether you’re serving it as part of a dessert buffet, pairing it with a warm slice of pie, or simply enjoying a bowl on its own, this vanilla ice cream is sure to delight.
Serving Suggestions:
- As-Is: Serve the ice cream plain to fully appreciate the rich vanilla flavor.
- With Toppings: Add chocolate syrup, caramel sauce, or fresh fruit for added flavor and texture.
- In a Sundae: Layer the ice cream with whipped cream, nuts, and cherries for a classic sundae.
- With Desserts: Pair with warm brownies, apple pie, or a slice of cake for a decadent treat.
Tips for the Best Vanilla Ice Cream
To ensure your vanilla ice cream turns out perfectly every time, here are some additional tips:
- Use High-Quality Ingredients: The quality of your ingredients, particularly the vanilla extract and dairy, will significantly impact the flavor and texture of your ice cream. Opt for pure vanilla extract and fresh, high-fat cream for the best results.
- Chill the Mixture Before Freezing: For an even creamier texture, consider chilling your vanilla base in the refrigerator for an hour before transferring it to the freezer. This step helps the flavors meld and the sugar dissolve more completely.
- Experiment with Flavors: While vanilla is a classic, don’t hesitate to get creative. Add a teaspoon of almond extract, a swirl of caramel, or a handful of crushed cookies to the base before freezing. The Ninja Creami’s versatility allows you to experiment with a wide range of flavors and mix-ins.
- Store Leftovers Properly: If you have leftovers, store the ice cream in an airtight container in the freezer. To prevent ice crystals from forming, press a piece of plastic wrap directly onto the surface of the ice cream before sealing the container.
Conclusion
Making vanilla ice cream at home with the Ninja Creami is not only easy but also incredibly rewarding. You get to control the quality of the ingredients, customize the flavor, and enjoy a fresh, homemade treat that’s tailored to your taste. Whether you keep it simple with classic vanilla or experiment with mix-ins and toppings, this recipe is a great starting point for all your ice cream-making adventures. With the Ninja Creami, you’ll have perfect, creamy ice cream every time, ready to enjoy whenever the craving strikes. So, go ahead and indulge in the simple pleasure of homemade vanilla ice cream!


