Ninja Creami Rich Chocolate Gelato Recipe | Perfect Homemade Dessert
This article provides a detailed guide on making rich chocolate gelato with the Ninja Creami. It covers every step, from preparing a decadent chocolate base to processing it with the Ninja Creami to achieve a smooth, creamy texture.
Equipment
- Ninja Creami Machine:Purpose: The main appliance used to process the frozen gelato base into a smooth, creamy texture.
- Mixing Bowls:Purpose: To combine and heat the chocolate base mixture before freezing.
- Whisk or Spoon:Purpose: For stirring and ensuring the chocolate and other ingredients are well combined.
- Measuring Cups and Spoons:Purpose: To measure ingredients accurately for the gelato base.
- Heatproof Spatula:Purpose: Useful for scraping the sides of the bowl and ensuring all ingredients are incorporated.
- Saucepan:Purpose: To gently heat the chocolate base mixture for melting the chocolate.
- Ninja Creami Pint Container:Purpose: The container used to freeze the gelato base before processing. Ensure it's compatible with the Ninja Creami.
- Airtight Storage Container:Purpose: For storing any leftover gelato in the freezer to maintain freshness and prevent ice crystals.
- Ice Cream Scoop or Spoon:Purpose: For serving the gelato once it’s processed.
Ingredients
- Whole Milk:Purpose: Provides the base for the gelato, contributing to its creamy texture and rich flavor.
- Heavy Cream:Purpose: Adds richness and smoothness to the gelato, enhancing its creamy consistency.
- Granulated Sugar:Purpose: Sweetens the gelato and balances the intense flavor of the chocolate.
- High-Quality Cocoa Powder or Chocolate:Purpose: Provides the deep, rich chocolate flavor that defines the gelato. Use high-quality cocoa powder or melted chocolate for the best results.
- Vanilla Extract:Purpose: Enhances the overall flavor profile and complements the chocolate.
- Salt (Optional):Purpose: A pinch of salt can enhance the sweetness and deepen the chocolate flavor.
- Summary of Ingredients: Whole MilkHeavy CreamGranulated SugarHigh-Quality Cocoa Powder or ChocolateVanilla ExtractSalt
Instructions
- 1. Prepare the Chocolate BaseCombine Ingredients:In a medium mixing bowl, whisk together granulated sugar and a pinch of salt (if using) until well combined.Gradually add whole milk to the bowl, whisking continuously to ensure the sugar dissolves completely.
- Heat the Mixture:In a saucepan, heat the mixture over medium heat until it's warm but not boiling. This step helps dissolve the sugar fully and prepares the base for the chocolate.Remove from heat and stir in high-quality cocoa powder or melted chocolate until fully combined and smooth. If using cocoa powder, ensure there are no lumps.
- Add Cream and Vanilla:Stir in heavy cream and vanilla extract into the chocolate mixture. Mix until smooth and all ingredients are well incorporated.
- Cool the Mixture:Allow the chocolate base to cool to room temperature. For best results, chill the mixture in the refrigerator for at least 1-2 hours. This cooling step helps to enhance the flavor and improve the texture of the gelato.
- 2. Freeze the MixtureTransfer to Pint Container:Once cooled, pour the chocolate base into the Ninja Creami pint container. Leave about 1/4 inch of space at the top of the container to allow for expansion during freezing.
- Freeze Solid:Secure the lid on the container and place it in the freezer. Allow the base to freeze solid for at least 24 hours. This step is crucial to ensure the mixture is adequately frozen for the Ninja Creami to process.
- 3. Process in the Ninja CreamiPrepare the Ninja Creami:Remove the pint container from the freezer and take off the lid. Ensure the container is completely frozen and solid.
- Process the Gelato:Place the pint container into the Ninja Creami machine and lock it into place. Select the “Gelato” setting, which is designed to create a creamy, smooth texture. Start the machine and let it process until the gelato is perfectly creamy.
- Add Mix-Ins (Optional):If desired, you can add mix-ins such as chocolate chips or chunks. Use the “Mix-In” function on the Ninja Creami to incorporate these evenly into the gelato.
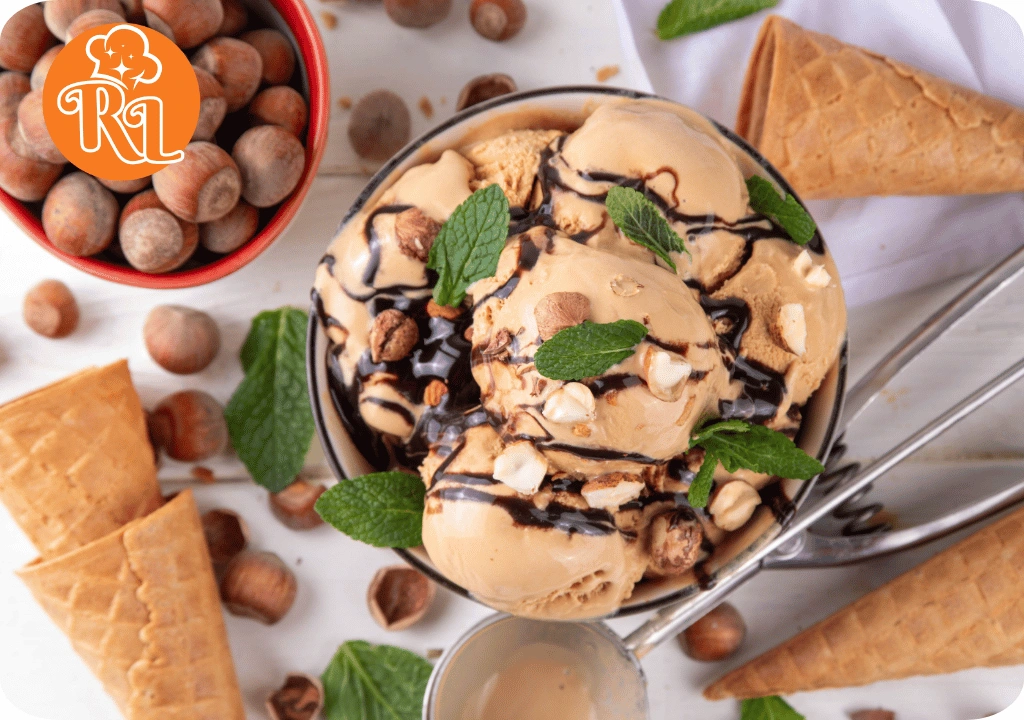
- 4. Serve and EnjoyServe Immediately:For the best texture, serve the gelato immediately after processing. Scoop the gelato into bowls or cones and enjoy its rich, creamy texture.
- Store Leftovers:If you have any leftover gelato, transfer it to an airtight container. Press a piece of plastic wrap directly onto the surface of the gelato before sealing the container to minimize ice crystals.
- Serving Suggestions:Enhance your gelato with toppings like whipped cream, chocolate shavings, or fresh berries. It also pairs well with other desserts such as cakes or pastries.
Notes
Notes:
- Portion Size: Adjust the calorie count based on the actual serving size. Larger portions will have more calories.
- Mix-Ins: Adding mix-ins like chocolate chips or nuts will increase the calorie count. For accurate nutritional information, include these additional ingredients in your calculations.