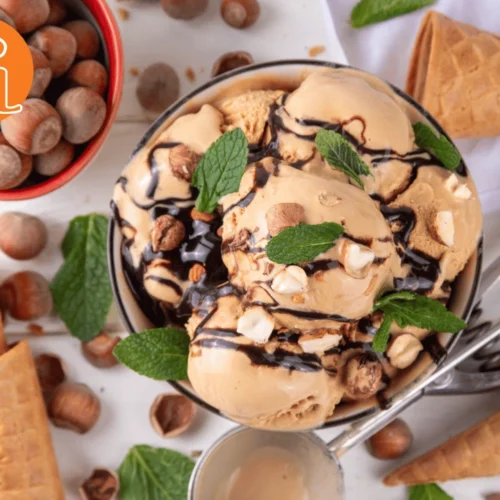
Chocolate gelato is renowned for its rich, velvety texture and deep, indulgent flavor. Unlike traditional ice cream, gelato is made with a higher proportion of milk and less cream, resulting in a smoother consistency and a more intense chocolate experience. With the Ninja Creami, crafting this luxurious treat at home becomes both simple and rewarding. This guide will walk you through the process of making rich chocolate gelato using your Ninja Creami, ensuring a delectable dessert that’s sure to impress.
Understanding Gelato
Gelato is an Italian frozen dessert that distinguishes itself from traditional ice cream through its unique texture and flavor profile. The key differences include:
- Milk vs. Cream: Gelato typically uses more milk and less cream compared to ice cream. This results in a lighter, smoother texture.
- Air Incorporation: Gelato is churned at a slower speed, incorporating less air, which gives it a denser, creamier consistency.
- Serving Temperature: Gelato is served at a slightly warmer temperature than ice cream, which enhances its smooth texture and allows flavors to be more pronounced.
Preparing the Base
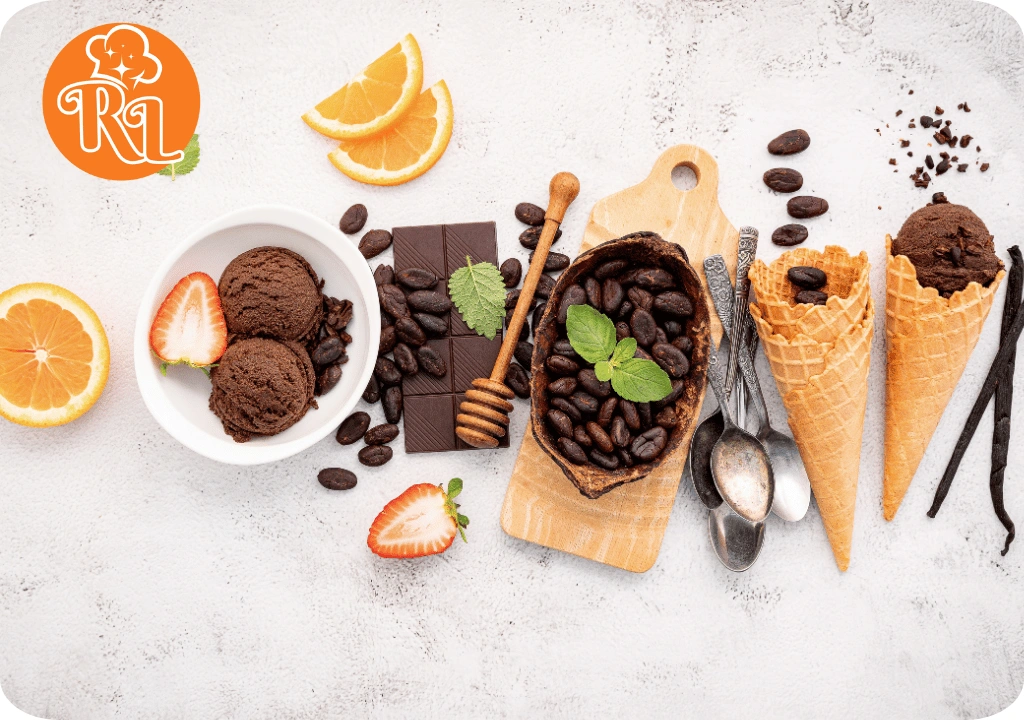
The foundation of any great gelato is a well-prepared base. Start by creating a rich chocolate base that will serve as the core of your gelato. The process involves:
- Combining Ingredients: Blend the chocolate into the milk and cream mixture to create a uniform chocolate base. It’s important to ensure that the chocolate is thoroughly melted and well-integrated into the liquid to avoid any lumps.
- Heating the Mixture: Gently heat the mixture to dissolve the chocolate completely and to help the flavors meld together. Be careful not to overheat, as this can affect the final texture of your gelato.
- Cooling: Once the mixture is well combined and heated, allow it to cool. Chilling the base in the refrigerator before freezing helps achieve a smoother texture by ensuring the ingredients are well mixed and the flavors have time to develop.
Freezing the Gelato Base
With the base ready, it’s time to freeze it to prepare it for the Ninja Creami:
- Transfer to Container: Pour the cooled chocolate base into the Ninja Creami pint container. Leave some space at the top to allow for expansion during freezing.
- Freeze: Place the container in the freezer and let it freeze solid for at least 24 hours. This step is crucial for achieving the right texture in your gelato.
Processing with the Ninja Creami
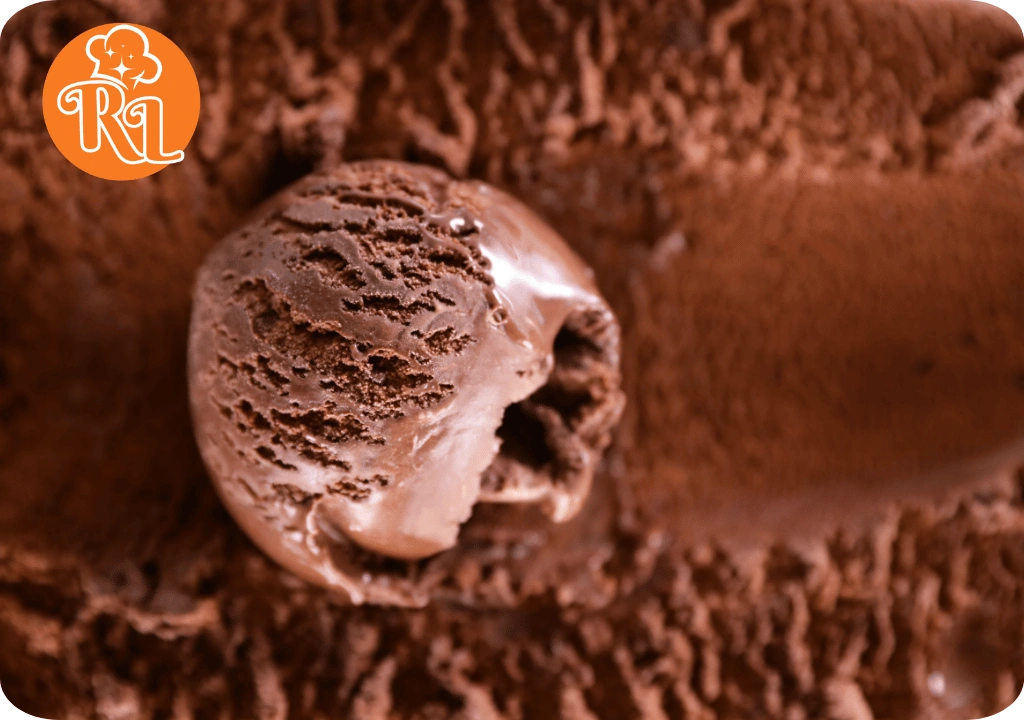
Once the gelato base is thoroughly frozen, it’s ready to be processed in the Ninja Creami. This machine is designed to transform frozen bases into smooth, creamy gelato with ease.
- Prepare the Ninja Creami: Remove the pint container from the freezer and take off the lid.
- Process the Gelato: Insert the pint container into the Ninja Creami machine and lock it into place. Select the “Gelato” setting, which is specifically designed for creating gelato’s creamy texture. Start the machine and let it process the frozen base. This will break down any ice crystals and create a smooth, rich consistency.
- Mix-Ins (Optional): If you’d like to add mix-ins, such as chocolate chips or chunks, you can use the “Mix-In” function on the Ninja Creami. This ensures that the mix-ins are evenly distributed without disrupting the gelato’s creamy texture.
Ninja Creami Rich Chocolate Gelato Recipe | Perfect Homemade Dessert
Equipment
- Ninja Creami Machine:Purpose: The main appliance used to process the frozen gelato base into a smooth, creamy texture.
- Mixing Bowls:Purpose: To combine and heat the chocolate base mixture before freezing.
- Whisk or Spoon:Purpose: For stirring and ensuring the chocolate and other ingredients are well combined.
- Measuring Cups and Spoons:Purpose: To measure ingredients accurately for the gelato base.
- Heatproof Spatula:Purpose: Useful for scraping the sides of the bowl and ensuring all ingredients are incorporated.
- Saucepan:Purpose: To gently heat the chocolate base mixture for melting the chocolate.
- Ninja Creami Pint Container:Purpose: The container used to freeze the gelato base before processing. Ensure it's compatible with the Ninja Creami.
- Airtight Storage Container:Purpose: For storing any leftover gelato in the freezer to maintain freshness and prevent ice crystals.
- Ice Cream Scoop or Spoon:Purpose: For serving the gelato once it’s processed.
Ingredients
- Whole Milk:Purpose: Provides the base for the gelato, contributing to its creamy texture and rich flavor.
- Heavy Cream:Purpose: Adds richness and smoothness to the gelato, enhancing its creamy consistency.
- Granulated Sugar:Purpose: Sweetens the gelato and balances the intense flavor of the chocolate.
- High-Quality Cocoa Powder or Chocolate:Purpose: Provides the deep, rich chocolate flavor that defines the gelato. Use high-quality cocoa powder or melted chocolate for the best results.
- Vanilla Extract:Purpose: Enhances the overall flavor profile and complements the chocolate.
- Salt (Optional):Purpose: A pinch of salt can enhance the sweetness and deepen the chocolate flavor.
- Summary of Ingredients: Whole MilkHeavy CreamGranulated SugarHigh-Quality Cocoa Powder or ChocolateVanilla ExtractSalt
Instructions
- 1. Prepare the Chocolate BaseCombine Ingredients:In a medium mixing bowl, whisk together granulated sugar and a pinch of salt (if using) until well combined.Gradually add whole milk to the bowl, whisking continuously to ensure the sugar dissolves completely.
- Heat the Mixture:In a saucepan, heat the mixture over medium heat until it's warm but not boiling. This step helps dissolve the sugar fully and prepares the base for the chocolate.Remove from heat and stir in high-quality cocoa powder or melted chocolate until fully combined and smooth. If using cocoa powder, ensure there are no lumps.
- Add Cream and Vanilla:Stir in heavy cream and vanilla extract into the chocolate mixture. Mix until smooth and all ingredients are well incorporated.
- Cool the Mixture:Allow the chocolate base to cool to room temperature. For best results, chill the mixture in the refrigerator for at least 1-2 hours. This cooling step helps to enhance the flavor and improve the texture of the gelato.
- 2. Freeze the MixtureTransfer to Pint Container:Once cooled, pour the chocolate base into the Ninja Creami pint container. Leave about 1/4 inch of space at the top of the container to allow for expansion during freezing.
- Freeze Solid:Secure the lid on the container and place it in the freezer. Allow the base to freeze solid for at least 24 hours. This step is crucial to ensure the mixture is adequately frozen for the Ninja Creami to process.
- 3. Process in the Ninja CreamiPrepare the Ninja Creami:Remove the pint container from the freezer and take off the lid. Ensure the container is completely frozen and solid.
- Process the Gelato:Place the pint container into the Ninja Creami machine and lock it into place. Select the “Gelato” setting, which is designed to create a creamy, smooth texture. Start the machine and let it process until the gelato is perfectly creamy.
- Add Mix-Ins (Optional):If desired, you can add mix-ins such as chocolate chips or chunks. Use the “Mix-In” function on the Ninja Creami to incorporate these evenly into the gelato.
- 4. Serve and EnjoyServe Immediately:For the best texture, serve the gelato immediately after processing. Scoop the gelato into bowls or cones and enjoy its rich, creamy texture.
- Store Leftovers:If you have any leftover gelato, transfer it to an airtight container. Press a piece of plastic wrap directly onto the surface of the gelato before sealing the container to minimize ice crystals.
- Serving Suggestions:Enhance your gelato with toppings like whipped cream, chocolate shavings, or fresh berries. It also pairs well with other desserts such as cakes or pastries.
Notes
Notes:
- Portion Size: Adjust the calorie count based on the actual serving size. Larger portions will have more calories.
- Mix-Ins: Adding mix-ins like chocolate chips or nuts will increase the calorie count. For accurate nutritional information, include these additional ingredients in your calculations.
Serving and Enjoying
After processing, your rich chocolate gelato is ready to be served:
- Serve Immediately: For the best texture, serve the gelato immediately after processing. Its slightly softer consistency will be perfect for scooping and enjoying.
- Store Leftovers: If you have leftovers, store the gelato in an airtight container in the freezer. To maintain its smooth texture, press a piece of plastic wrap directly onto the surface of the gelato before sealing the container.
- Serving Suggestions: Rich chocolate gelato is delicious on its own, but you can enhance it with various toppings such as fresh berries, whipped cream, or a drizzle of chocolate sauce. It also pairs well with desserts like fruit tarts or alongside a slice of cake.
Tips for the Best Chocolate Gelato
- Use High-Quality Chocolate: The flavor of your gelato depends heavily on the quality of the chocolate used. Choose high-quality, couverture chocolate for the richest flavor.
- Monitor Temperature: Ensure that the gelato base is completely frozen before processing. This will help achieve the desired smooth texture and prevent any iciness.
- Adjust Sweetness: Depending on your preference and the type of chocolate used, you may need to adjust the sweetness of the base. Taste the mixture before freezing and adjust as needed.
- Experiment with Flavors: While this recipe focuses on rich chocolate gelato, you can experiment by adding other flavors, such as a hint of espresso or a swirl of caramel, to create unique variations.
Conclusion
Making rich chocolate gelato with the Ninja Creami is an enjoyable and straightforward process that results in a creamy, decadent dessert perfect for any occasion. By following these steps, you’ll create a gelato that rivals those from the finest gelaterias, right in your own kitchen. Whether enjoyed on its own or paired with other desserts, this homemade chocolate gelato is sure to be a hit with everyone who tastes it.

