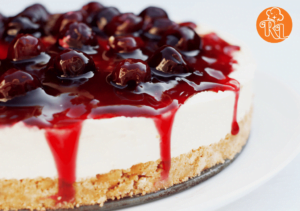
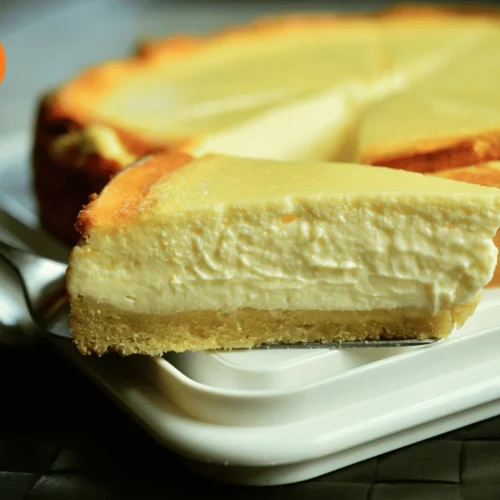
Cheesecake is one of those desserts that feels luxurious, indulgent, and perfect for any occasion. But what if you could make it without even turning on the oven? Enter the no-bake cheesecake—a creamy, dreamy dessert that’s incredibly easy to make. Whether you’re a novice baker or an experienced cook looking for a fuss-free dessert, this no-bake cheesecake recipe is sure to become a favorite.
Why No-Bake Cheesecake?
No-bake cheesecakes have a few key advantages over their baked counterparts. For one, they’re much quicker to prepare. Since there’s no need to bake the crust or the filling, you save a lot of time and avoid the potential pitfalls of overbaking or underbaking. This makes it an excellent choice for hot summer days when you want a cool, refreshing dessert without heating up the kitchen.
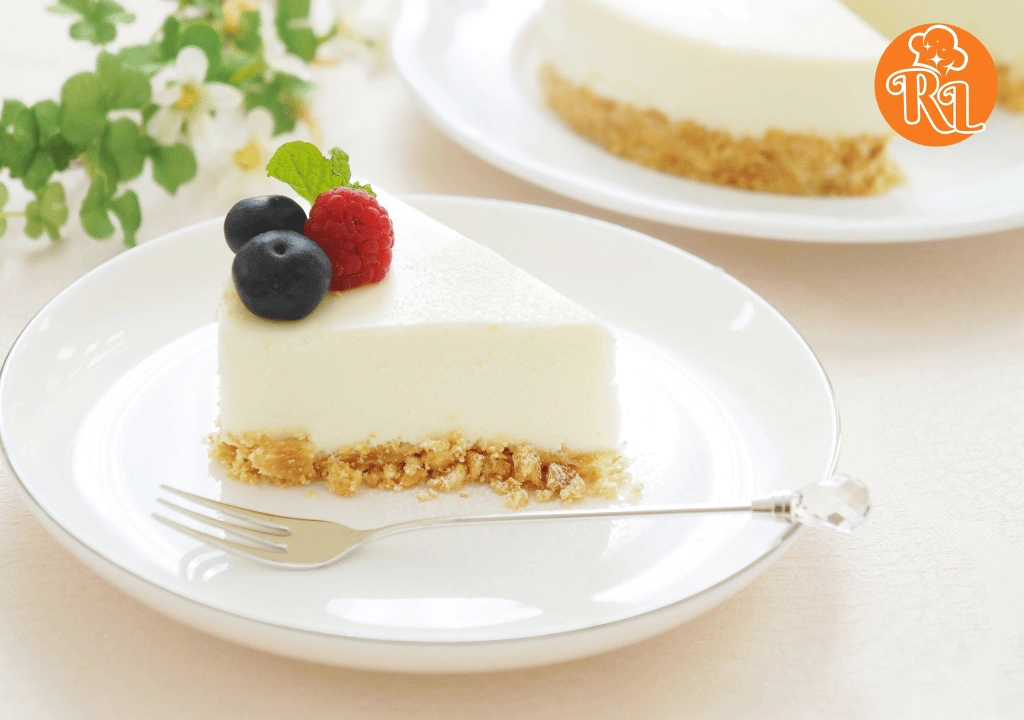
Another great benefit of no-bake cheesecake is its simplicity. You don’t need any special equipment like a water bath or an oven thermometer, and the ingredients are straightforward and easy to find. This makes it a perfect recipe for those who may not be as confident in the kitchen but still want to impress with a homemade dessert.
Finally, no-bake cheesecakes are incredibly versatile. You can keep the recipe simple with a classic vanilla flavor or get creative with various toppings and mix-ins. From fresh fruit to chocolate ganache, the possibilities are endless!
Step-by-Step No-Bake Cheesecake Recipe
Here’s a step-by-step guide to making your very own no-bake cheesecake. This recipe is straightforward, easy to follow, and requires no baking—just a little bit of patience while it chills in the fridge.
No-Bake Cheesecake recipe
Equipment
- 9-inch Springform Pan: Ideal for easy removal and serving of the cheesecake.
- Mixing Bowls: For combining ingredients for the crust and filling.
- Electric Mixer: Either a hand mixer or stand mixer for beating the cream cheese and whipping the cream.
- Spatula: For folding and spreading the cheesecake filling.
- Measuring Cups and Spoons: For accurately measuring ingredients
- Plastic Wrap or Aluminum Foil: To cover the cheesecake while it chills.
Ingredients
- 1 1/2 cups graham cracker crumbs (about 10-12 full graham crackers)
- 1/3 cup granulated sugar
- 1/2 cup unsalted butter, melted
- For the Cheesecake Filling:
- 16 oz (450g) cream cheese, softened
- 1 cup powdered sugar
- 1 teaspoon vanilla extract
- 1 ablespoon lemon juice (optional, for a hint of tanginess)
- 1 cup heavy whipping cream, cold
Notes
- Cream Cheese Preparation: Ensure the cream cheese is softened to room temperature before mixing. This helps prevent lumps and ensures a smooth, creamy filling.
- Whipping Cream: For best results, use cold heavy whipping cream and whip it to stiff peaks. This will give the cheesecake a light and airy texture. Be careful not to overwhip, as it can turn the cream grainy.
- Chilling Time: Allow the cheesecake to chill in the refrigerator for at least 4 hours, or ideally overnight. This helps the filling firm up and enhances the flavor.
- Crust Variations: While graham cracker crumbs are traditional, you can experiment with other cookies or biscuits for the crust. Oreos, digestive biscuits, or even gingersnaps can add a unique flavor.
- Flavor Add-Ins: Feel free to customize the filling by adding ingredients like melted chocolate, fruit puree, or flavored extracts (e.g., lemon, almond). Mix these into the cream cheese mixture before folding in the whipped cream.
- Toppings: Top your cheesecake with fresh fruit, fruit compote, chocolate ganache, or caramel sauce for added flavor and visual appeal. Add these just before serving to keep them fresh.
- Storage Tips: Store any leftover cheesecake in the refrigerator, covered with plastic wrap or in an airtight container, for up to 5 days. For longer storage, you can freeze the cheesecake for up to 2 months. Let it thaw in the refrigerator before serving.
- Serving Suggestions: Allow the cheesecake to sit at room temperature for a few minutes before serving for easier slicing and a softer texture.
Instructions:
1. Prepare the Crust:
- Start by making the crust, which serves as the foundation of your cheesecake. In a medium bowl, combine the graham cracker crumbs and granulated sugar. Stir in the melted butter until the mixture is well-combined and resembles wet sand.
- Transfer the crumb mixture to a 9-inch springform pan. Press the crumbs firmly into the bottom of the pan to create an even layer. You can use the bottom of a glass or a flat measuring cup to press the crust evenly.
- Place the crust in the refrigerator to set while you work on the filling. This step is crucial for ensuring that the crust holds together when the cheesecake is sliced.
2. Make the Cheesecake Filling:
- In a large mixing bowl, beat the softened cream cheese and powdered sugar together using an electric mixer. Mix until the mixture is smooth, creamy, and free of lumps. The softened cream cheese ensures a smooth texture in your cheesecake.
- Add the vanilla extract and lemon juice to the cream cheese mixture. The lemon juice is optional but adds a subtle tang that complements the richness of the cream cheese.
- In a separate bowl, whip the cold heavy whipping cream until stiff peaks form. This means the cream should hold its shape when you lift the beaters out of the bowl. Be careful not to overwhip, as this can turn the cream grainy.
- Gently fold the whipped cream into the cream cheese mixture using a spatula. Folding is crucial here to maintain the airiness of the whipped cream, which contributes to the light, fluffy texture of the cheesecake filling.
3. Assemble the Cheesecake:
- Once your filling is ready, remove the crust from the refrigerator. Pour the cheesecake filling over the prepared crust, spreading it evenly with a spatula.
- Smooth the top of the cheesecake filling to create a nice, even layer. Cover the pan with plastic wrap or aluminum foil and refrigerate the cheesecake for at least 4 hours, or preferably overnight. This chilling time allows the cheesecake to firm up and develop its flavor.
4. Serve Your No-Bake Cheesecake:
- After the cheesecake has chilled and set, it’s ready to be served. Carefully remove the cheesecake from the springform pan by running a knife around the edges to loosen it before releasing the springform.
- Slice and serve your cheesecake as is, or add your favorite toppings. Fresh berries, fruit compote, chocolate shavings, or whipped cream are all excellent choices.
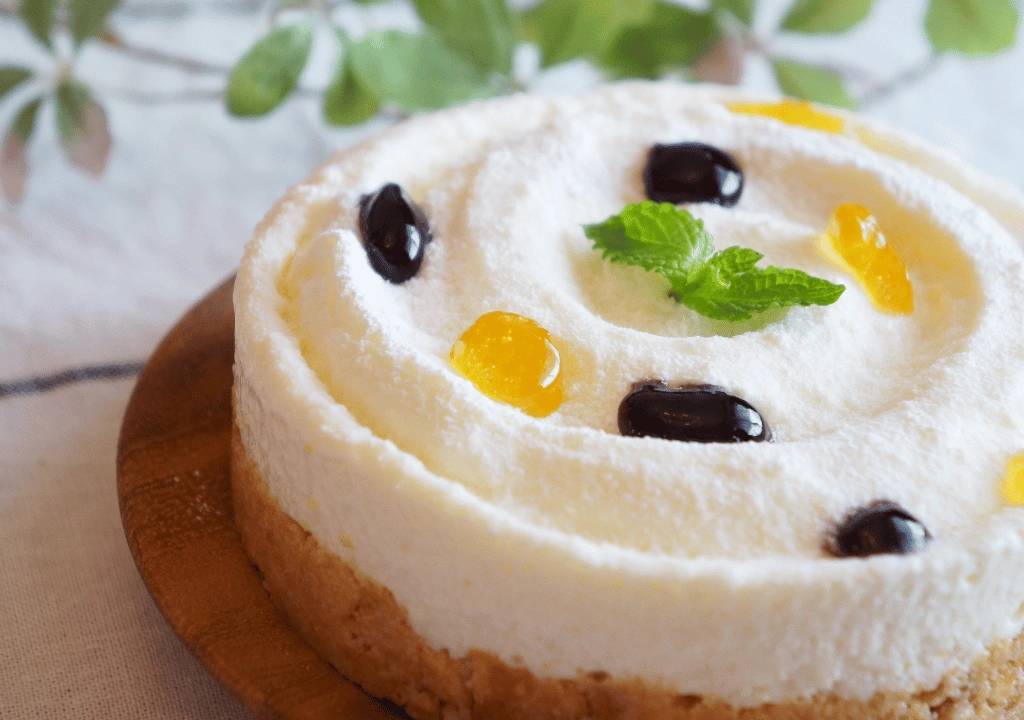
Tips and Tricks for the Perfect No-Bake Cheesecake
- Room Temperature Ingredients: Make sure your cream cheese is softened at room temperature before mixing. This prevents lumps in your cheesecake filling and ensures a smooth, creamy texture.
- Stiff Peaks: When whipping the heavy cream, aim for stiff peaks. This means the cream should hold its shape well and not collapse. This step is essential for achieving the light and airy texture that makes no-bake cheesecake so delightful.
- Chilling Time: Don’t rush the chilling process! The cheesecake needs several hours in the refrigerator to set properly. Overnight chilling is ideal for the best texture and flavor.
- Customizing the Crust: While graham cracker crumbs are the classic choice for a cheesecake crust, you can experiment with other types of cookies, such as Oreos, digestive biscuits, or even gingersnaps, to add a unique flavor twist.
- Flavor Variations: Once you’ve mastered the basic no-bake cheesecake, feel free to experiment with different flavors. You can mix in melted chocolate, fruit puree, or flavored extracts like almond or lemon to create your own signature cheesecake.
Why You’ll Love This No-Bake Cheesecake
There are many reasons why this no-bake cheesecake is bound to become a favorite in your dessert repertoire:
- Ease of Preparation: With no need for baking or worrying about cracked tops, this cheesecake is stress-free and perfect for bakers of all skill levels.
- Versatility: This recipe is a blank canvas for your creativity. Whether you prefer it plain or with an array of toppings, this cheesecake can be adapted to suit any occasion or taste.
- Perfect for Warm Weather: On a hot day, the last thing you want to do is turn on the oven. This no-bake cheesecake keeps your kitchen cool while still delivering a decadent dessert.
- Make-Ahead Friendly: No-bake cheesecake is an excellent make-ahead dessert. Since it needs time to chill and set, you can prepare it a day or two in advance, making it a great option for entertaining.
Topping Ideas for Your No-Bake Cheesecake
The beauty of a no-bake cheesecake lies not only in its simplicity but also in its ability to pair beautifully with a variety of toppings. Here are some ideas to inspire you:
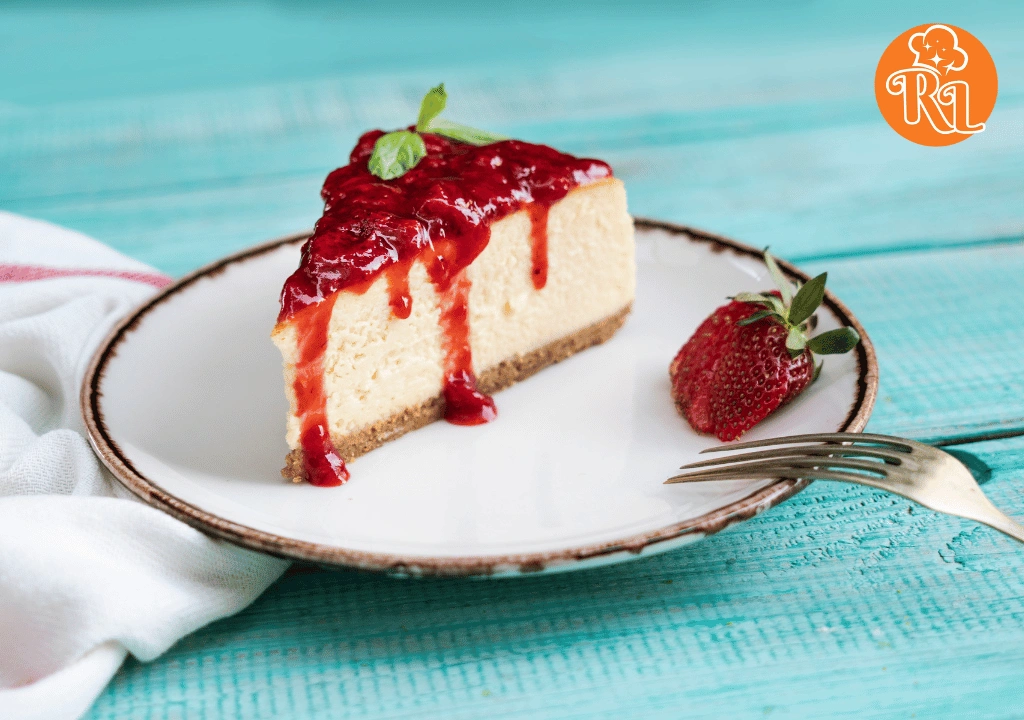
- Fresh Fruit: Fresh berries like strawberries, blueberries, raspberries, or a combination make for a classic topping that adds color and a burst of freshness. You can arrange them on top of the cheesecake just before serving.
- Fruit Compote: If you prefer a more sauce-like topping, a fruit compote made from simmering berries with a bit of sugar and lemon juice adds a deliciously tangy-sweet contrast to the creamy cheesecake.
- Chocolate Ganache: For a more decadent option, drizzle your cheesecake with a rich chocolate ganache. Simply melt equal parts of chocolate and heavy cream together, let it cool slightly, and then pour over the cheesecake.
- Caramel Sauce: A drizzle of homemade or store-bought caramel sauce adds a sweet, buttery flavor that pairs beautifully with the creamy filling.
- Whipped Cream: A dollop of whipped cream is a classic and easy topping that adds a light, airy texture to each bite.
- Crushed Cookies or Nuts: For a bit of crunch, sprinkle crushed cookies, graham crackers, or chopped nuts on top of the cheesecake just before serving.
Storing Your No-Bake Cheesecake
If you have leftovers (which might be unlikely!), store them in the refrigerator, covered with plastic wrap or in an airtight container. The cheesecake will keep well for up to 5 days. For longer storage, you can also freeze the cheesecake. Simply wrap it tightly in plastic wrap and aluminum foil, then store it in the freezer for up to 2 months. When you’re ready to enjoy it, let it thaw in the refrigerator for a few hours or overnight.
Final Thoughts
No-bake cheesecake is the perfect dessert for any occasion. Whether you’re making it for a special event, a family gathering, or just because, this recipe is sure to impress. With its creamy texture, customizable flavor options, and effortless preparation, it’s a dessert that’s as easy to make as it is to enjoy.
So the next time you’re in the mood for something sweet but don’t want to heat up the kitchen, give this no-bake cheesecake recipe a try. You’ll love the results—a rich, creamy dessert that’s sure to satisfy your sweet tooth. Happy baking (or rather, no-baking)!

